Overview of Sales Upload
- A powerful feature that allows users to upload sales data in bulk, manage the upload process and view the results. You will need to complete an Excel template in the right format before you start the upload process.
Steps to Upload Sales Data
- Select Location (if you have multiple locations in the system)
- Choose the appropriate location from the dropdown menu. This is required to proceed with the upload.
- Choose File
- Click on the "Choose file" button to open a file dialog.
- Select the file containing your sales data from your computer.
- Upload File
- After selecting the file, click the "Upload" button to start the upload process.
- Wait for the upload to complete. The interface will update to show the results.
- Review Results
- Check the Successful List tab to see the sales records that were successfully uploaded.
- Check the Failed List tab to review any errors and understand why certain records failed to upload.
- Clear File (Optional)
- If you need to upload a different file, click the "Clear" button to reset the file selection and start over.
Other Components of Sales Upload
Upload Results
- Successful List: This tab displayss the list of succeessfully uploaaded sales records
- Failed Lists: It shows the records that failed to upload, along woth error messages explaining the reason for the failure
Detailed Lists
- Sale Items List:This tab provides a detailed list of individual sale items included in the uploaded file.
- Processed Sales List: This tab displays a list of processed sales records.
- Failed Sales List:This tab shows detailed information about the sales records that failed to process.
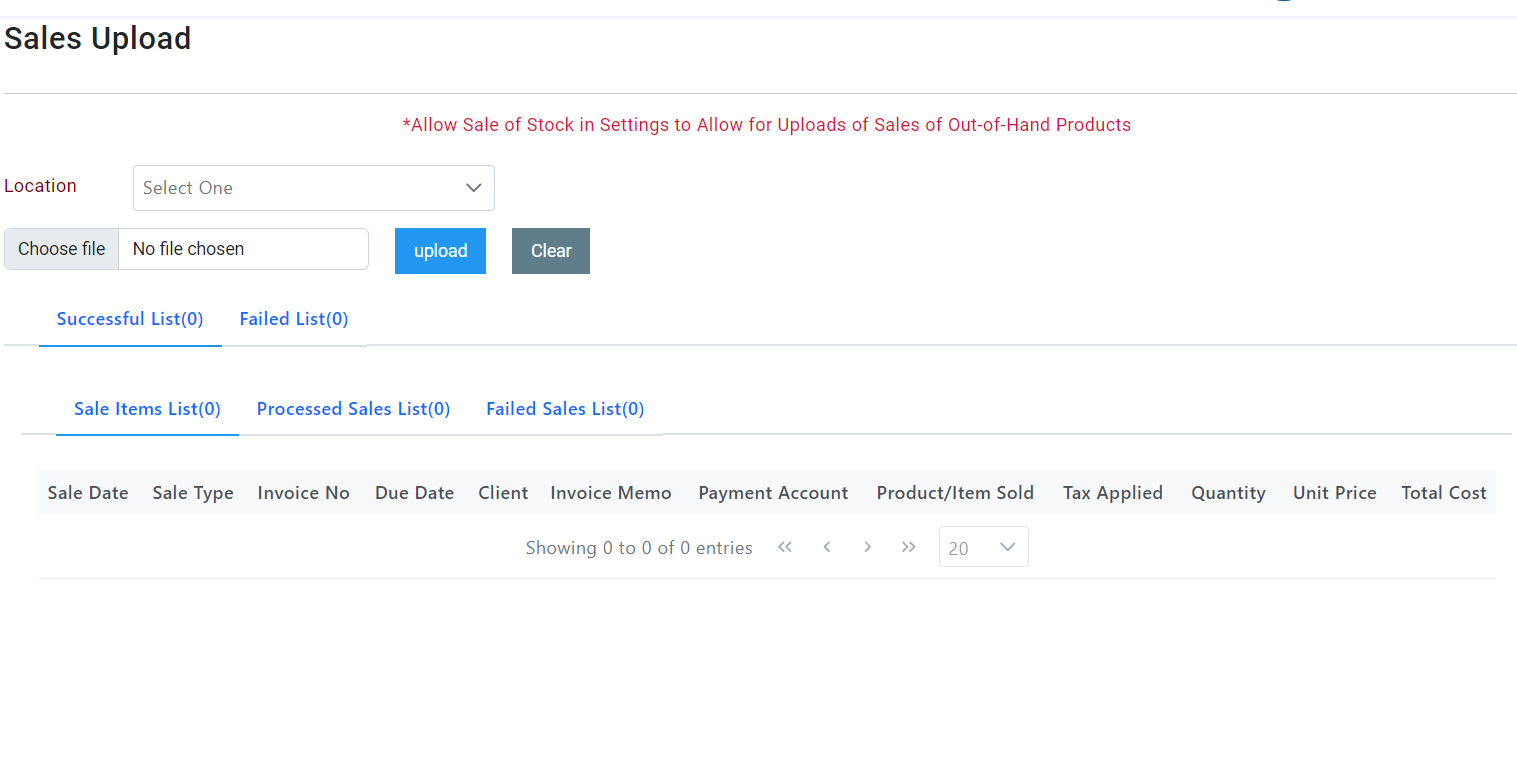
Sales Data Table
- The sales data table is located at the bottom of the interface. This table displays detailed information about the sales records, including:
- Sale Date: The date the sale was made.
- Sale Type: The type of sale (e.g., cash sale, credit sale).
- Invoice No: The invoice number associated with the sale.
- Due Date: The due date for payment of the sale.
- Client: The client or customer to whom the sale was made.
- Invoice Memo: Additional notes or memos related to the invoice.
- Payment Account: The account used for receiving payment.
- Product/Item Sold: The product or item that was sold.
- Tax Applied: Any tax applied to the sale.
- Quantity: The quantity of items sold.
- Unit Price: The unit price of the item sold.
- Total Cost: The total cost of the sale.
Tips and Best Practices
- File Format: Ensure that your sales data file is in a compatible format (e.g., CSV, Excel) and follows the required template.
- Data Accuracy: Double-check the accuracy of your data before uploading to minimize errors.
- Error Handling: Use the Failed List tab to identify and correct any issues with your sales data. Correct the errors and re-upload the corrected file.
- Settings: Enable the "Allow Sale of Stock" option in the settings if you need to upload sales of out-of-hand products.